Monthly Archives: July 2013

You are browsing the site archives by month.

Week 6 – Bringing images to Life

Soundscapes

In class this week we learned about soundscapes and incorporating sound, movement, and a theatrical element to analyze images. This is a great activity to increase movement in a class and to break up the monotony of sitting in a desk. Beginning with the end in mind, I looked through the PLOs from the grade 10 visual arts IRP and found these two which would work well with this activity; 1) develop and make images that deliberately engage varied combinations of the senses at ones. 2) demonstrate an awareness of characteristic similarities and differences among images from a variety of world cultures.

To extend the activity we did in class, I would introduce the topic of soundscapes just as we saw in class. I would focus on the students’ use of sound (or lack of sound, ie. pauses), movement, staging, and audience involvement. The students would be put in groups of three or four and each group would be asked to select a different world culture from a hat, for example; Coast Salish, Brazilian, Italian, Japanese, Maori, or British. The students would then be asked to find a landscape made by someone from that culture that represents that place in the world. Students would be allotted half a class to research where that place is, images that have been made to represent that culture, and/or the music from that culture. They would then use the information they learned to put together a representation of a landscape that they collectively chose. The representation should include movement, sound, and a tableau type representation of the image. The performing groups would be asked to conceal their images until the class had a discussion about the performance.

The performance discussions would focus on the elements of art and design so before we had the discussion, I would go over what those are with the class and how they could be represented with sound or movement, for example, a repetitive sound might represent repetitive elements like shapes. Perhaps movements that start out small and increase with speed and space might represent an imbalance in the image.

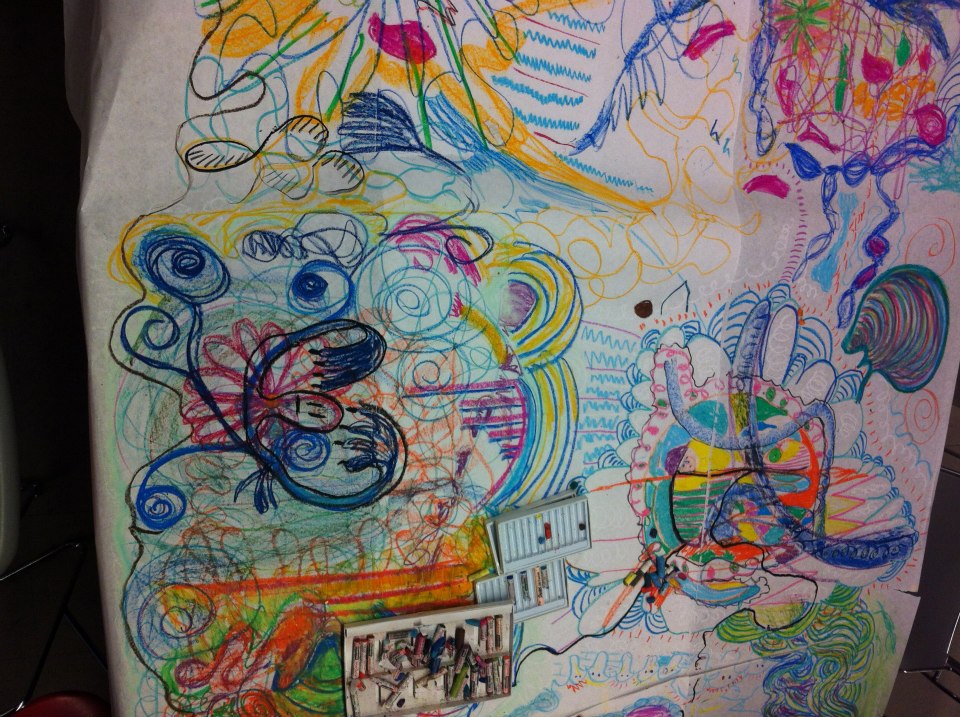
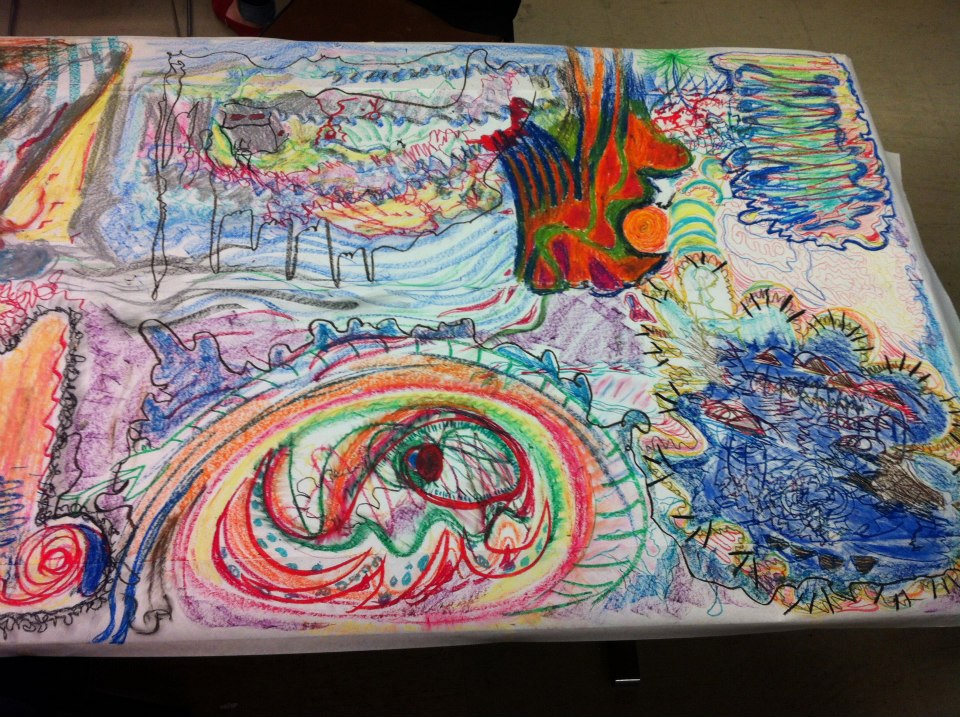
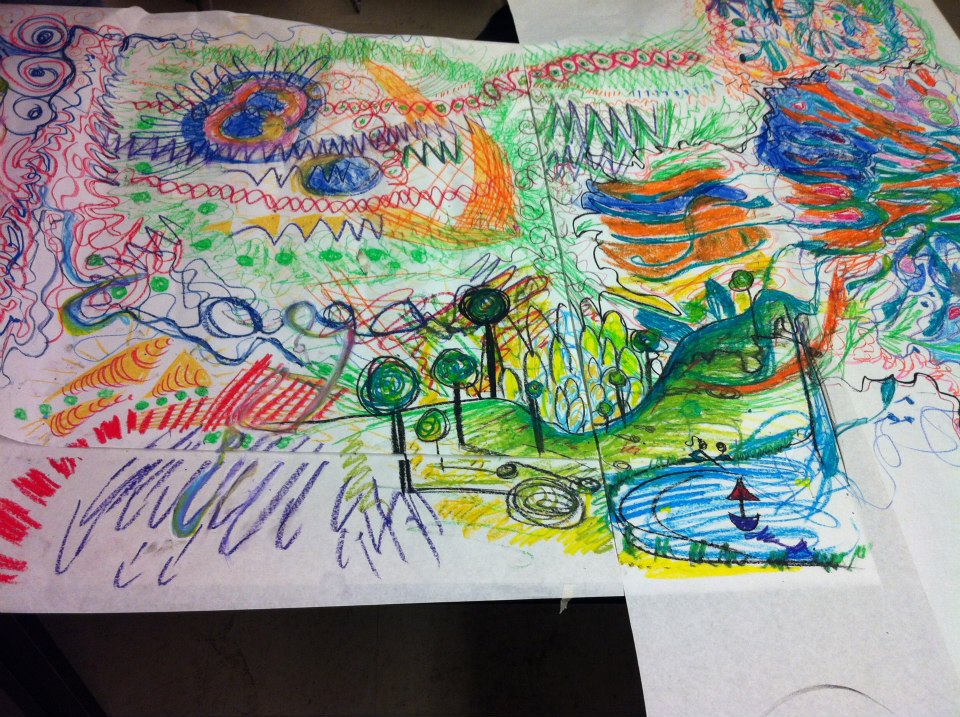
After this discussion about elements and principles of art and design, we would have the performances. A discussion would follow with a focus on the elements and principles. Students would be asked to imagine what the image looked like, what culture it represented and would be invited to make a drawn representation of one of the performances.

After all performances and drawn representations were completed, we would reveal the information regarding which culture was chosen to be represented and the students drawn analysis of the performances based on their understanding of the elements and principles of art and design.

For assessment, I would use the performances, and the drawn representations along with notes gleaned from the cultural research part of the assignment. Perhaps a good idea would be to have a handout that the students could answer about the culture they researched. They could then hand in this form and I would have written evidence of their learning.  We could also do a 2 stars and a wish activity in the discussion section where a focus on representing the elements and principles of art and design in the analysis.

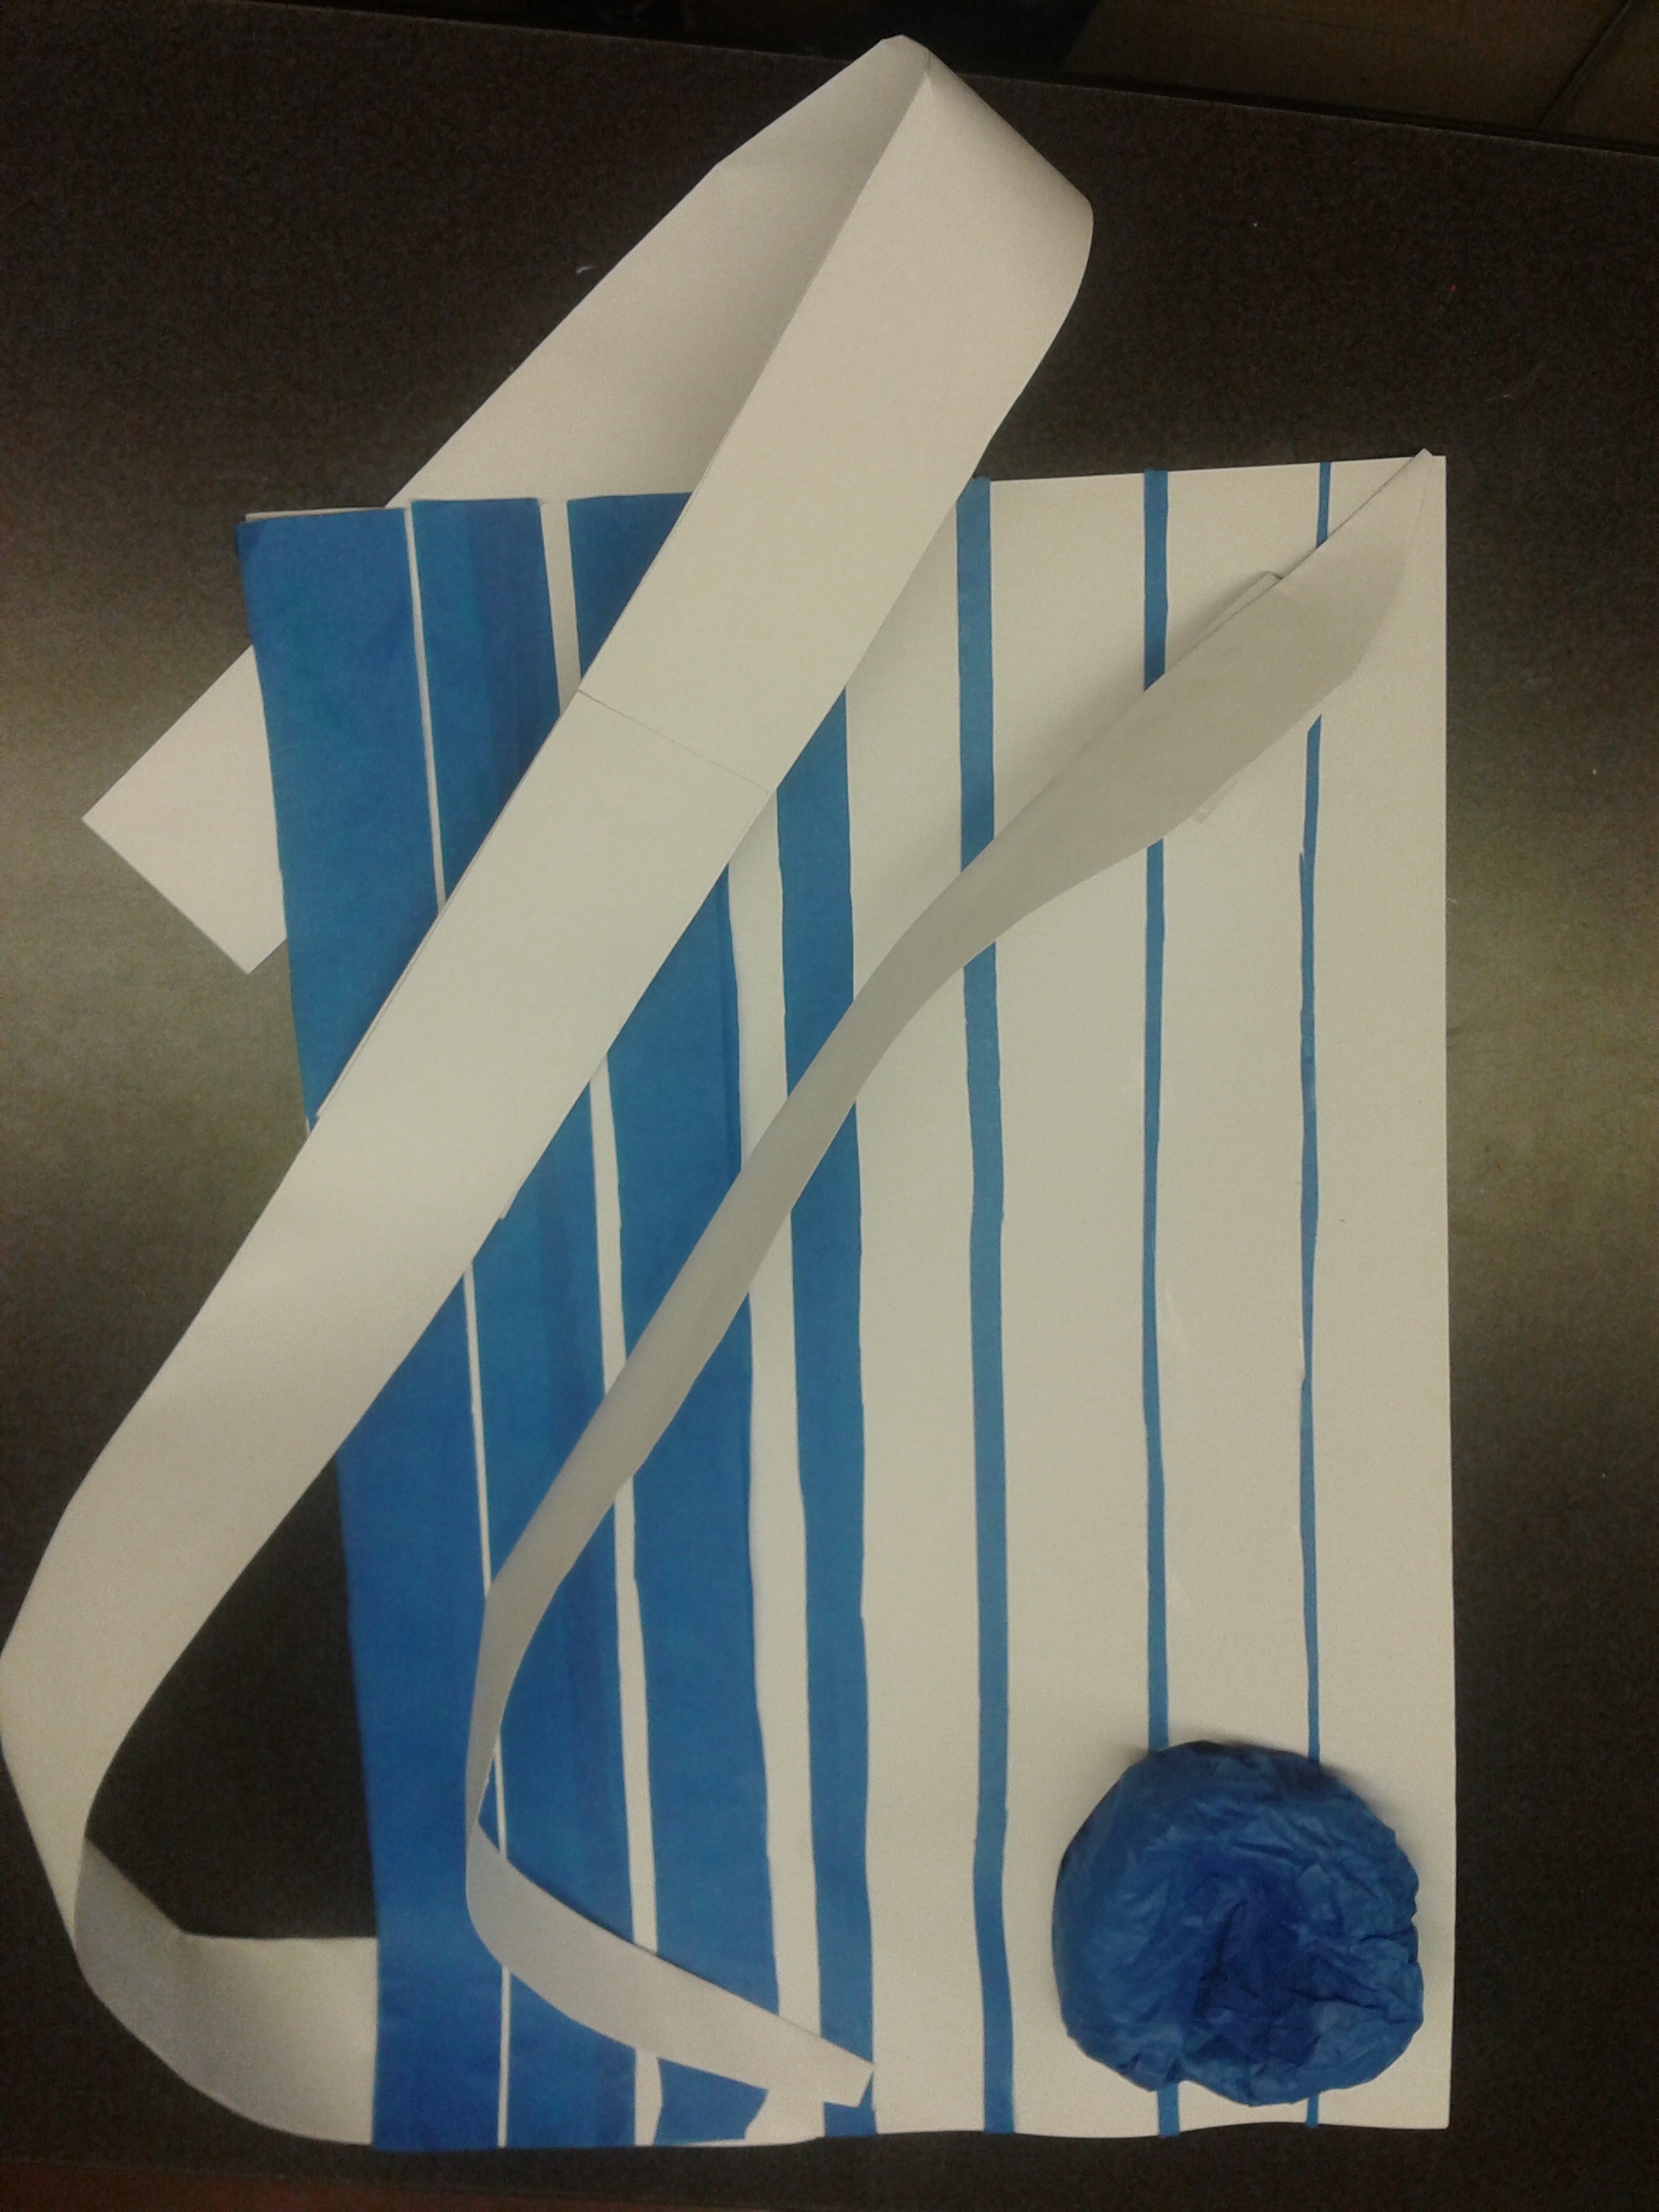
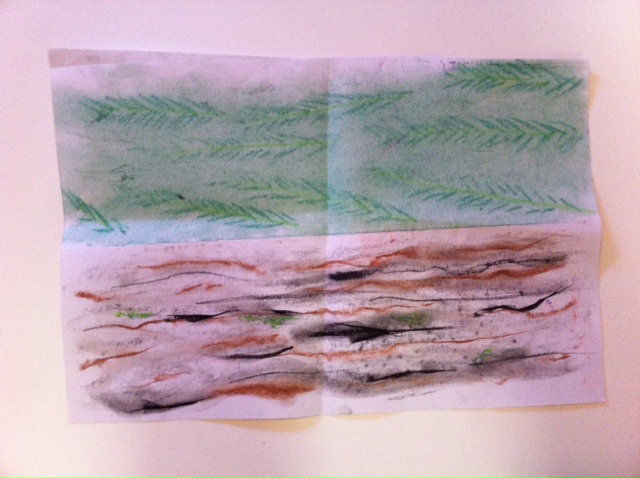
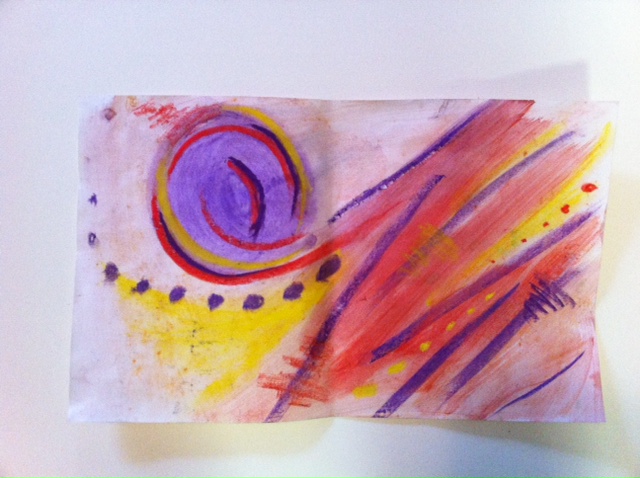
To check out some images of our performance, click on the link below. The file will download to your computer.

resoundscapesphotos

Week 5 – Approaches to Drawing

Approaches to drawing

Today in class we learned a few drawing techniques that could be used in a variety of ways to teach a variety of skills. One way that I would like to incorporate these skills into a drawing and painting class would be to have an overarching sketchbook project that accumulated entries daily or more frequently if the student desired. This would be incorporated in to a daily role activity which serves to allow the students to refocus on creativity at the beginning of every class while the teacher takes attendance and administers to any housekeeping issues like passing out permission slips or talking to individual students privately. It is also good for students who depend on some element of predictability, for example a student with autism or anxiety issues.

In the beginning of the semester the role activity would be open for students to sketch anything. I would scaffold this activity with an emphasis on play and exploration of mark making and a wide variety of supplies would be available for the students to try new things. After 5 or so classes of exploratory sketches, I would start posting the role activity on an overhead for all students to see as they walked into the classroom. One example could be creating tone using hatching. There would be examples on the board that showed how to change a circle into a sphere using hatching. The students would try this in their sketchbooks for the first 5-7 minutes of class. Then next day they would have a similar activity but using cross hatching. The following day, stippling. Then smudging and so on. On the 5th day, the students would use their 5-7 min time to use the new techniques learned over the week in a new way, perhaps to shade in a doodle of their name or by doing a quick still life of an object in their book bag.

These role activities would progress throughout the semester and one of the last units on drawing would be a self directed project where they use some of the ideas developed in their sketchbook throughout the class. The project would be open and they could recreate something or make a collage from their sketchbook.

For assessment, the focus would be on the process and not the product. I would have quick informal meetings with the students before the final project to get an idea of where they started, where they are now and where they are going for their self directed drawing in order to help me to understand their process. I would also get the students to do a self evaluation.

There are many PLOs that could be used as a guide for this project. Here are a few from the PLOs of the grade 11 fine arts IRP.

  • Create/perform a work of art demonstrating the use of strategies for developing an artistic image or idea.
  • Create/perform a work of art expressing the students’ own ideas, thoughts or feelings.

Their sketchbook could also function as an extension activity throughout the semester if a student finished a project early and needed something to do for the last couple of minutes in a class.

Week 5 - Photo 1

Week 5 - Photo 2

Week 4 – Using Galleries as a Resource for Curriculum Planning

Gallery Visit

Students can really benefit from “out trips” that are connected to the curriculum being taught in class. A trip to a local art gallery can be an exciting way to engage students with the concepts being taught in class and not just art classes. There are lots of opportunities for cross curricular education in local galleries.

One of the things that really amazed me at the Grand Hotel exhibit was how easily it could be adapted for cross-curricular studies. I think it would be a great opportunity to take a group of students from different classes (history, music, art, English, geography, or economics) and have them explore the gallery for examples of what they learned in their respective classes. For example, an English student might be fascinated with the inclusion of writings by William S. Burroughs and with the aid of some guiding questions, could inquire more into his repertoire of work. A history student might become engaged in the creation of the Canadian Pacific Railway and could work together with a geography student to create a project that highlighted its shortcomings and successes.

Using the gallery as a starting point for inquiry is something I would like to try and I think it would work well for this type of cross curricular activity. The students would be asked to visit the gallery and write down any questions they had while viewing the exhibit or anything that surprised or confused them. After the visit the students could do a research project where they found the answers to those questions. They would then be asked to make groups with students from the other classes and teach them about what they learned in their field. After this, the group would be asked to put together a poster project with information and images that included each group member’s findings.

Finally, all of the student would hang their posters and conduct their own exhibit with a gallery walk where they would have the opportunity to learn from their peers and discuss their findings.

Assessment could be based on collaboration and developing the ability to appreciate others’ work. Each of the teachers would also need to collaborate in designing the activity and could assess their students for particular PLOs in the IRPs for their subject.

Grand Hotel and Comix: A retrospective on Art Speigleman


Art-Spiegelamn-1

Art speigleman 2

Week 3 – Looking at and Responding to Art

Looking at and Responding to Art

This week we discussed the elements and principles of art and design in the context of responding to art critically. This is an important lesson for all students to learn but for the purposes of this reflection, I will adapt our class activity and extend it to encompass a unit for a grade 11 sculpture class though it could be easily adapted for all ages or classes.

Starting with the PLOs from the Studio Arts 11/12 IRP for a backward design allows me to consider assessment before designing the lesson.  The unit could represent many POLs but the major focus will be on; justifying interpretations of and preferences for images within sculpture as well as to create images within sculpture that reflect historical and contemporary themes.

The students would be partnered off and asked to research a historical 2D artist. Each of the partners would choose an image that had personal meaning to them though they would be instructed not to show their image to their partner. They would then write a description of the painting, drawing, or print focusing on using descriptive design vocabulary. After which, they would trade descriptions with their partner.

The descriptions would serve as the basis for their partners sculpture though and emphasis would be on interpreting the descriptions in their own way. They are not meant to recreate the image exactly but to focus on the elements and principles of art and design to create a contemporary version of the historical piece. This part of the process would likely take two or three studio classes and a multitude of materials would be available to the students. Wood, paper, wire, glue, balloons or any other found objects could all be used.

Once the students finish their sculptures, I would go over the four stages of criticism which would scaffold writing their artist statements that are meant to justify their interpretations of the original descriptions. I would use these artist statements as evidence for the assessment. We would also have a class critique where the students would read the descriptions given to them and discuss their ideas for their sculpture.

Week 3 - Mixed Media responce Week 3 - Mixed Media

Week 2 – Art as Personal Expression

Art as personal expression

This week we were introduced to an activity that focuses on community building and personal expression. The activity is a great way to foster community in the classroom and could be used with all age groups. For the purposes of this reflection, let’s assume that I am using this activity to introduce some of the elements of art and design to a grade 8 class. Using backwards design I would plan the lesson and the assessment around 2 PLOs; To demonstrate respect for their work and the work of others and to analyze how the physical qualities of visual elements and principles of art and design are used to create effects or mood.

An important aspect to any community builder is the way a teacher frames the activity. I would first tell the students that this is an activity that is meant to make everyone feel comfortable with the medium (paint, pastel, crayons, charcoal or any other mark making tool) and then explain that we are going to work together to make one collective artwork.  Lining the tables with paper will cease any apprehensions that the students might have about making a mess. I would start the activity the same way we did in class. Asking the students to close their eyes and focus on their breathing would help to slow down the students and get them centered. The students would be instructed to represent their breathing while keeping their eyes closed. After about 25 or 30 seconds, I would have them open their eyes and allow for some transition time as they would likely be interested to see what happened. We would continue this activity three or four times with light music playing and eyes closed. I would instruct the students to try to represent, in their own way, words that I call out. I would then call out some of the elements of art and design, for example; line, shape, and direction. The students would then be invited to open their eye.

At this point, the students are comfortable with the medium and I would remind them that we are making one collective art piece. I would ask the students to try to make connections from their piece to their partners while rethinking the three words I called out previously; line, shape, and direction. After doing this I would give them the opportunity to move around the room and add their marks to various parts around the room. This might be a good time to remind them of respectful behaviour.

When the art making is finished I would ask the students to do a gallery walk around the room to check out their beautiful and inspiring work. While they are viewing the piece in partner groups that were determined by pulling names out of a hat to mix up the group, I would ask them to think about and discuss the different elements that were represented keeping in mind mood. The students would be instructed to find areas that looked sad or energetic or lazy or angry and discuss with their partner why they thought so.

At the end of the class, I would have the students complete an exit slip that questioned creating mood with the elements we used. Another question could be to write down one interesting thing their partner said that sparked their interest or helped them to understand something. This would be used as evidence for assessment.

Collaborative Abstraction

Collaborative Abstraction

Week 2 - Abstracted, artistic expression 3 Week 2 - Abstracted, artistic expression 2

poetry and image

poetry and image

Week 2 - photo (2) Week 2 - photo (3)