
GIMP/Photoshop tutorial
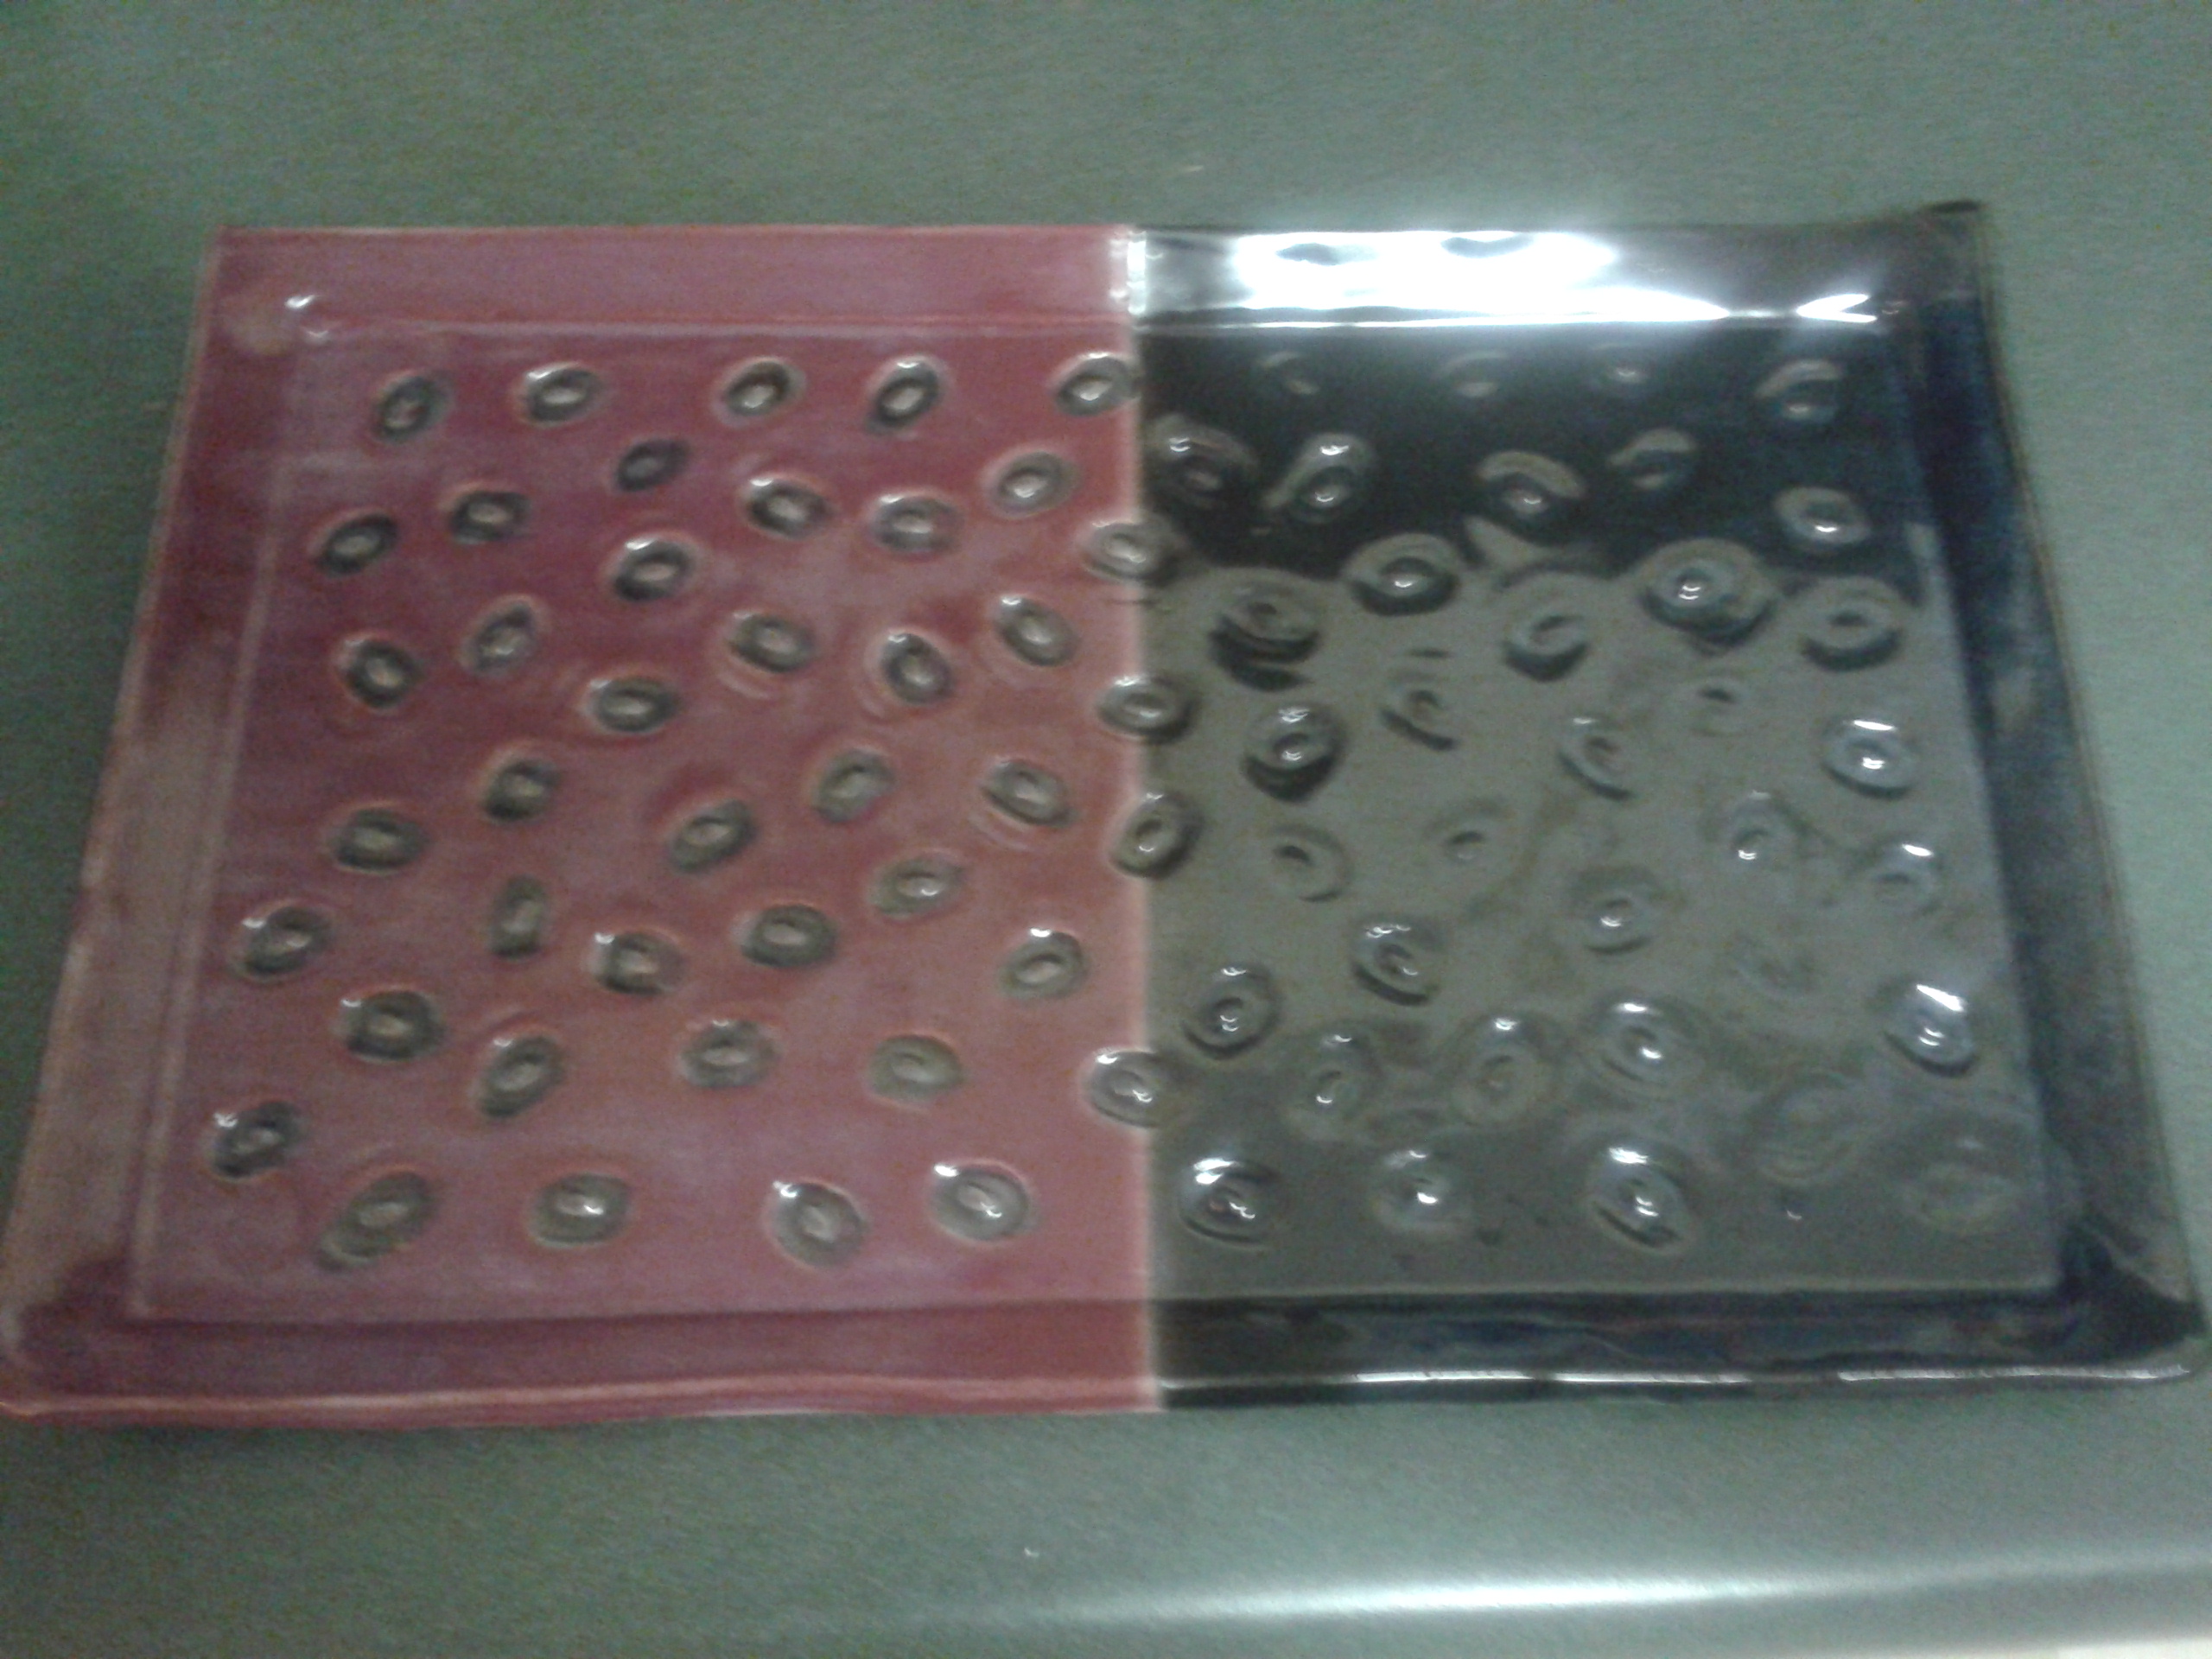
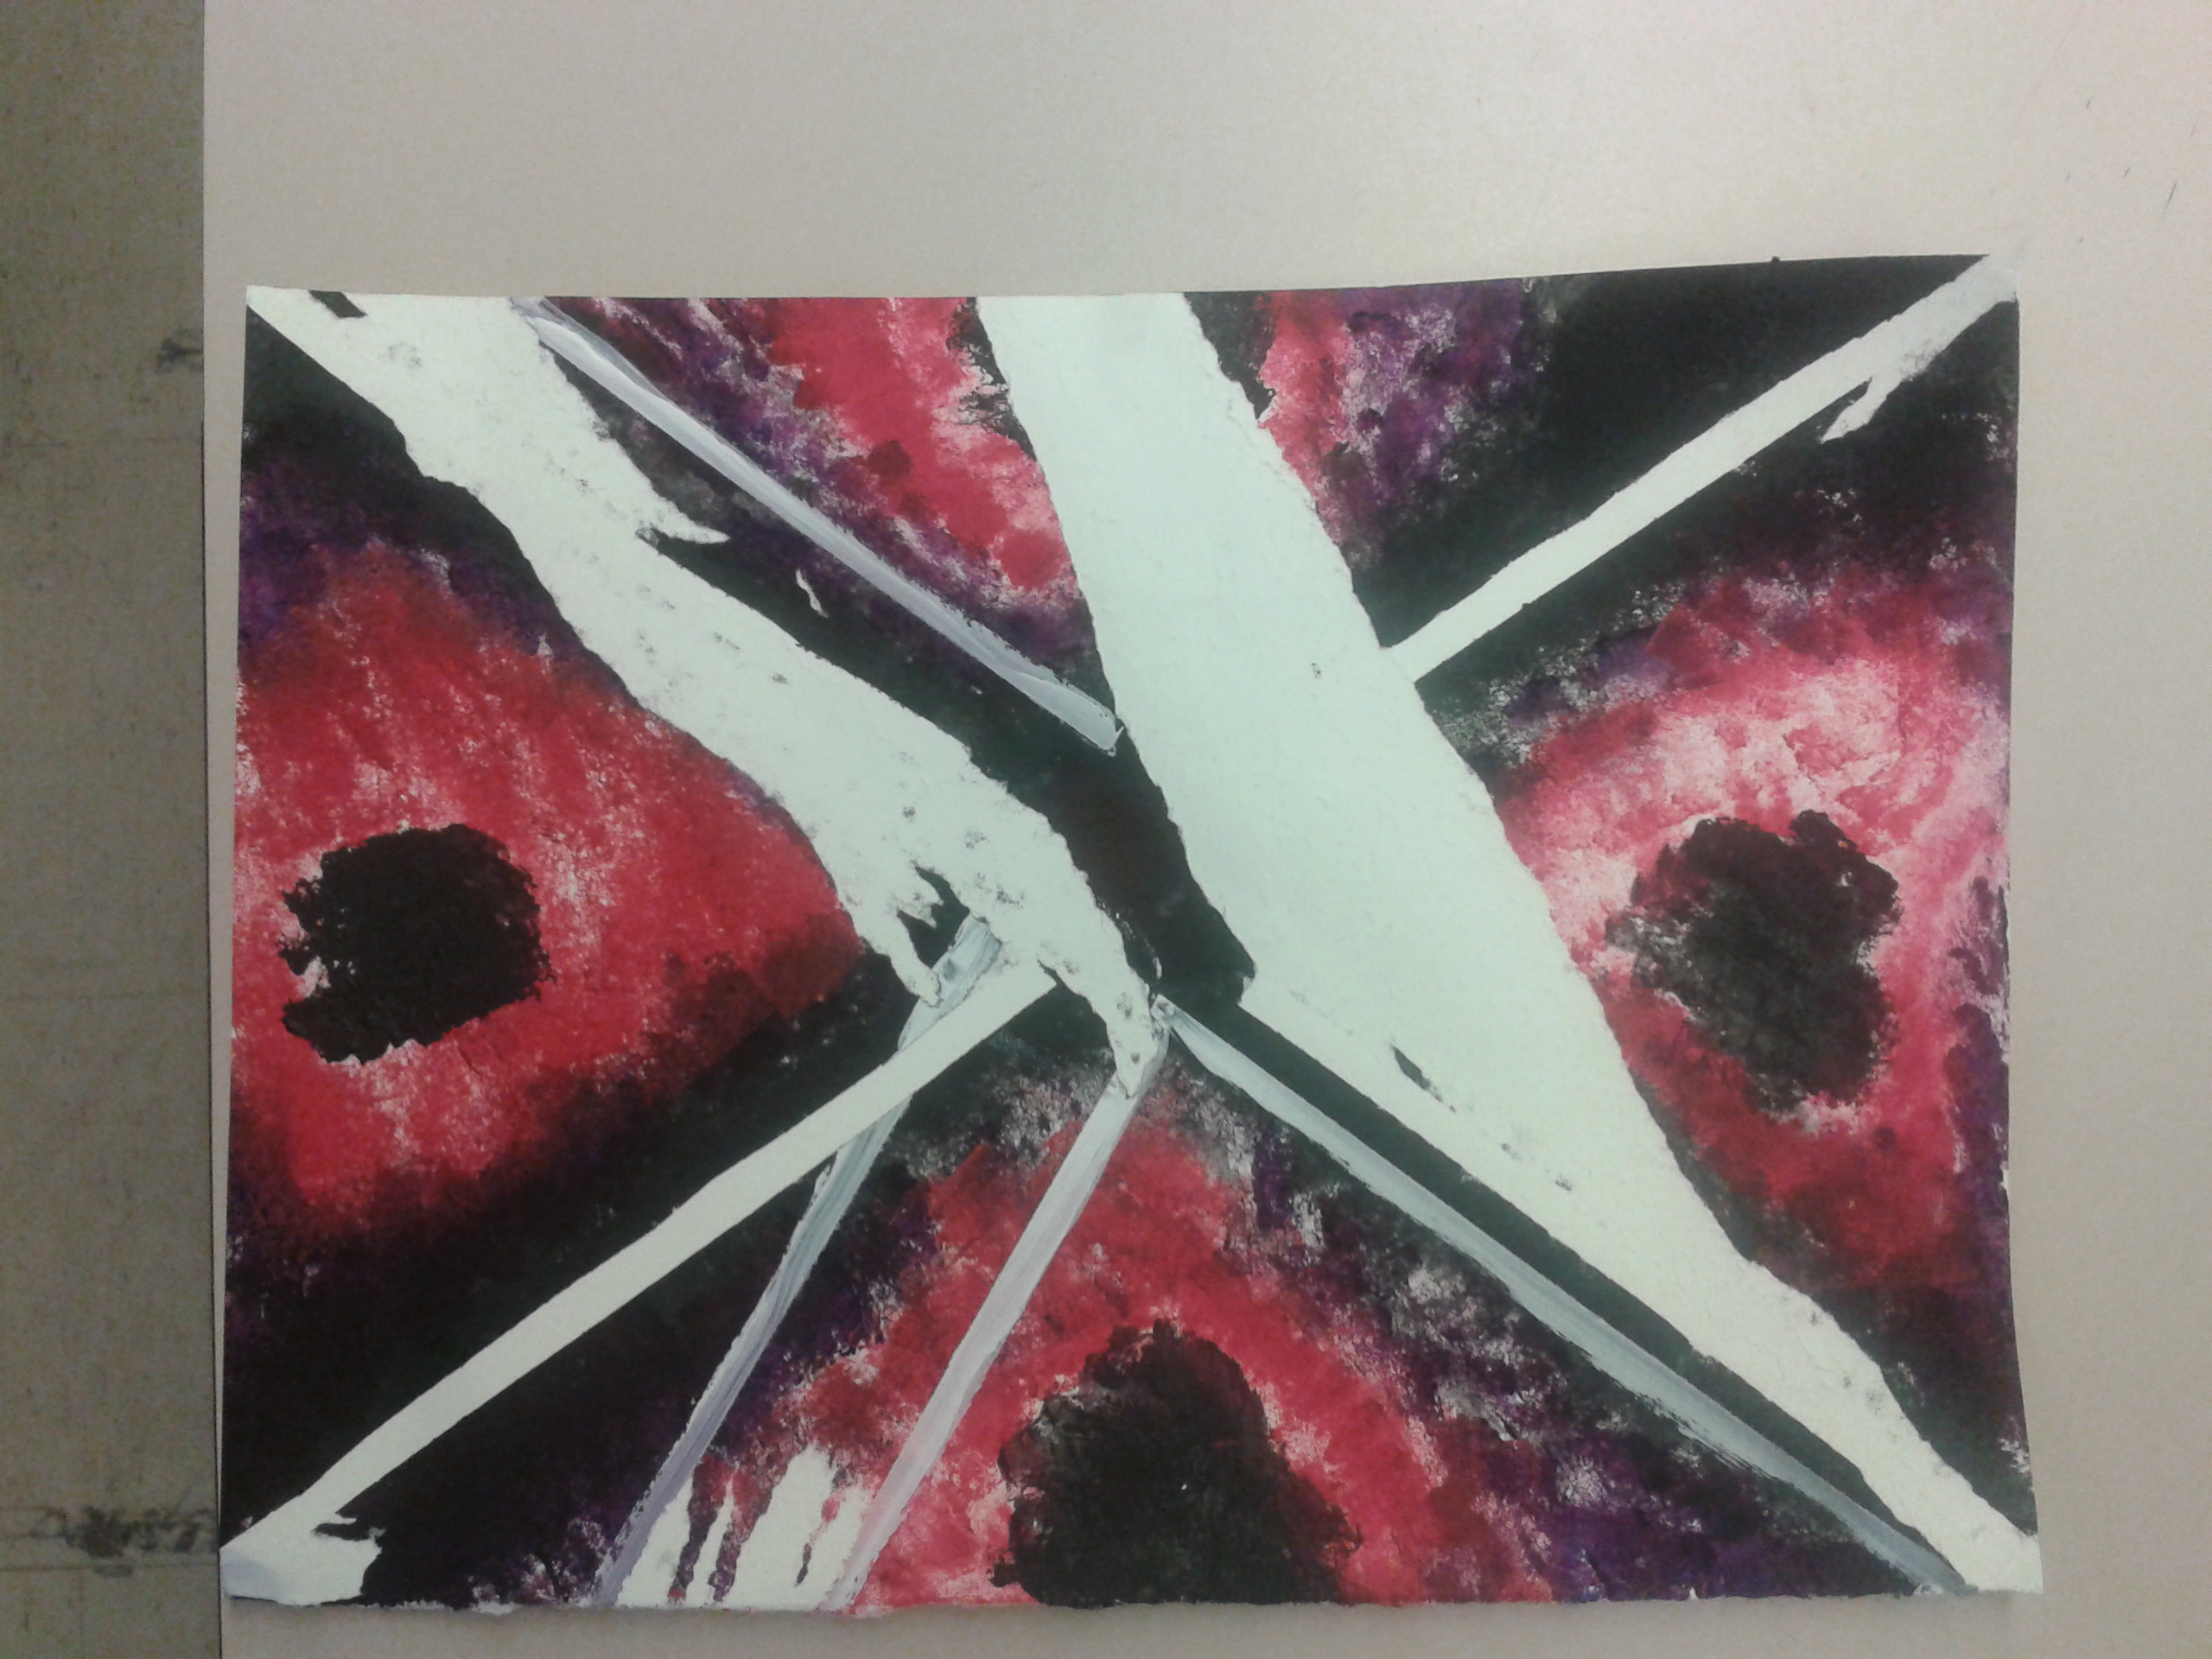
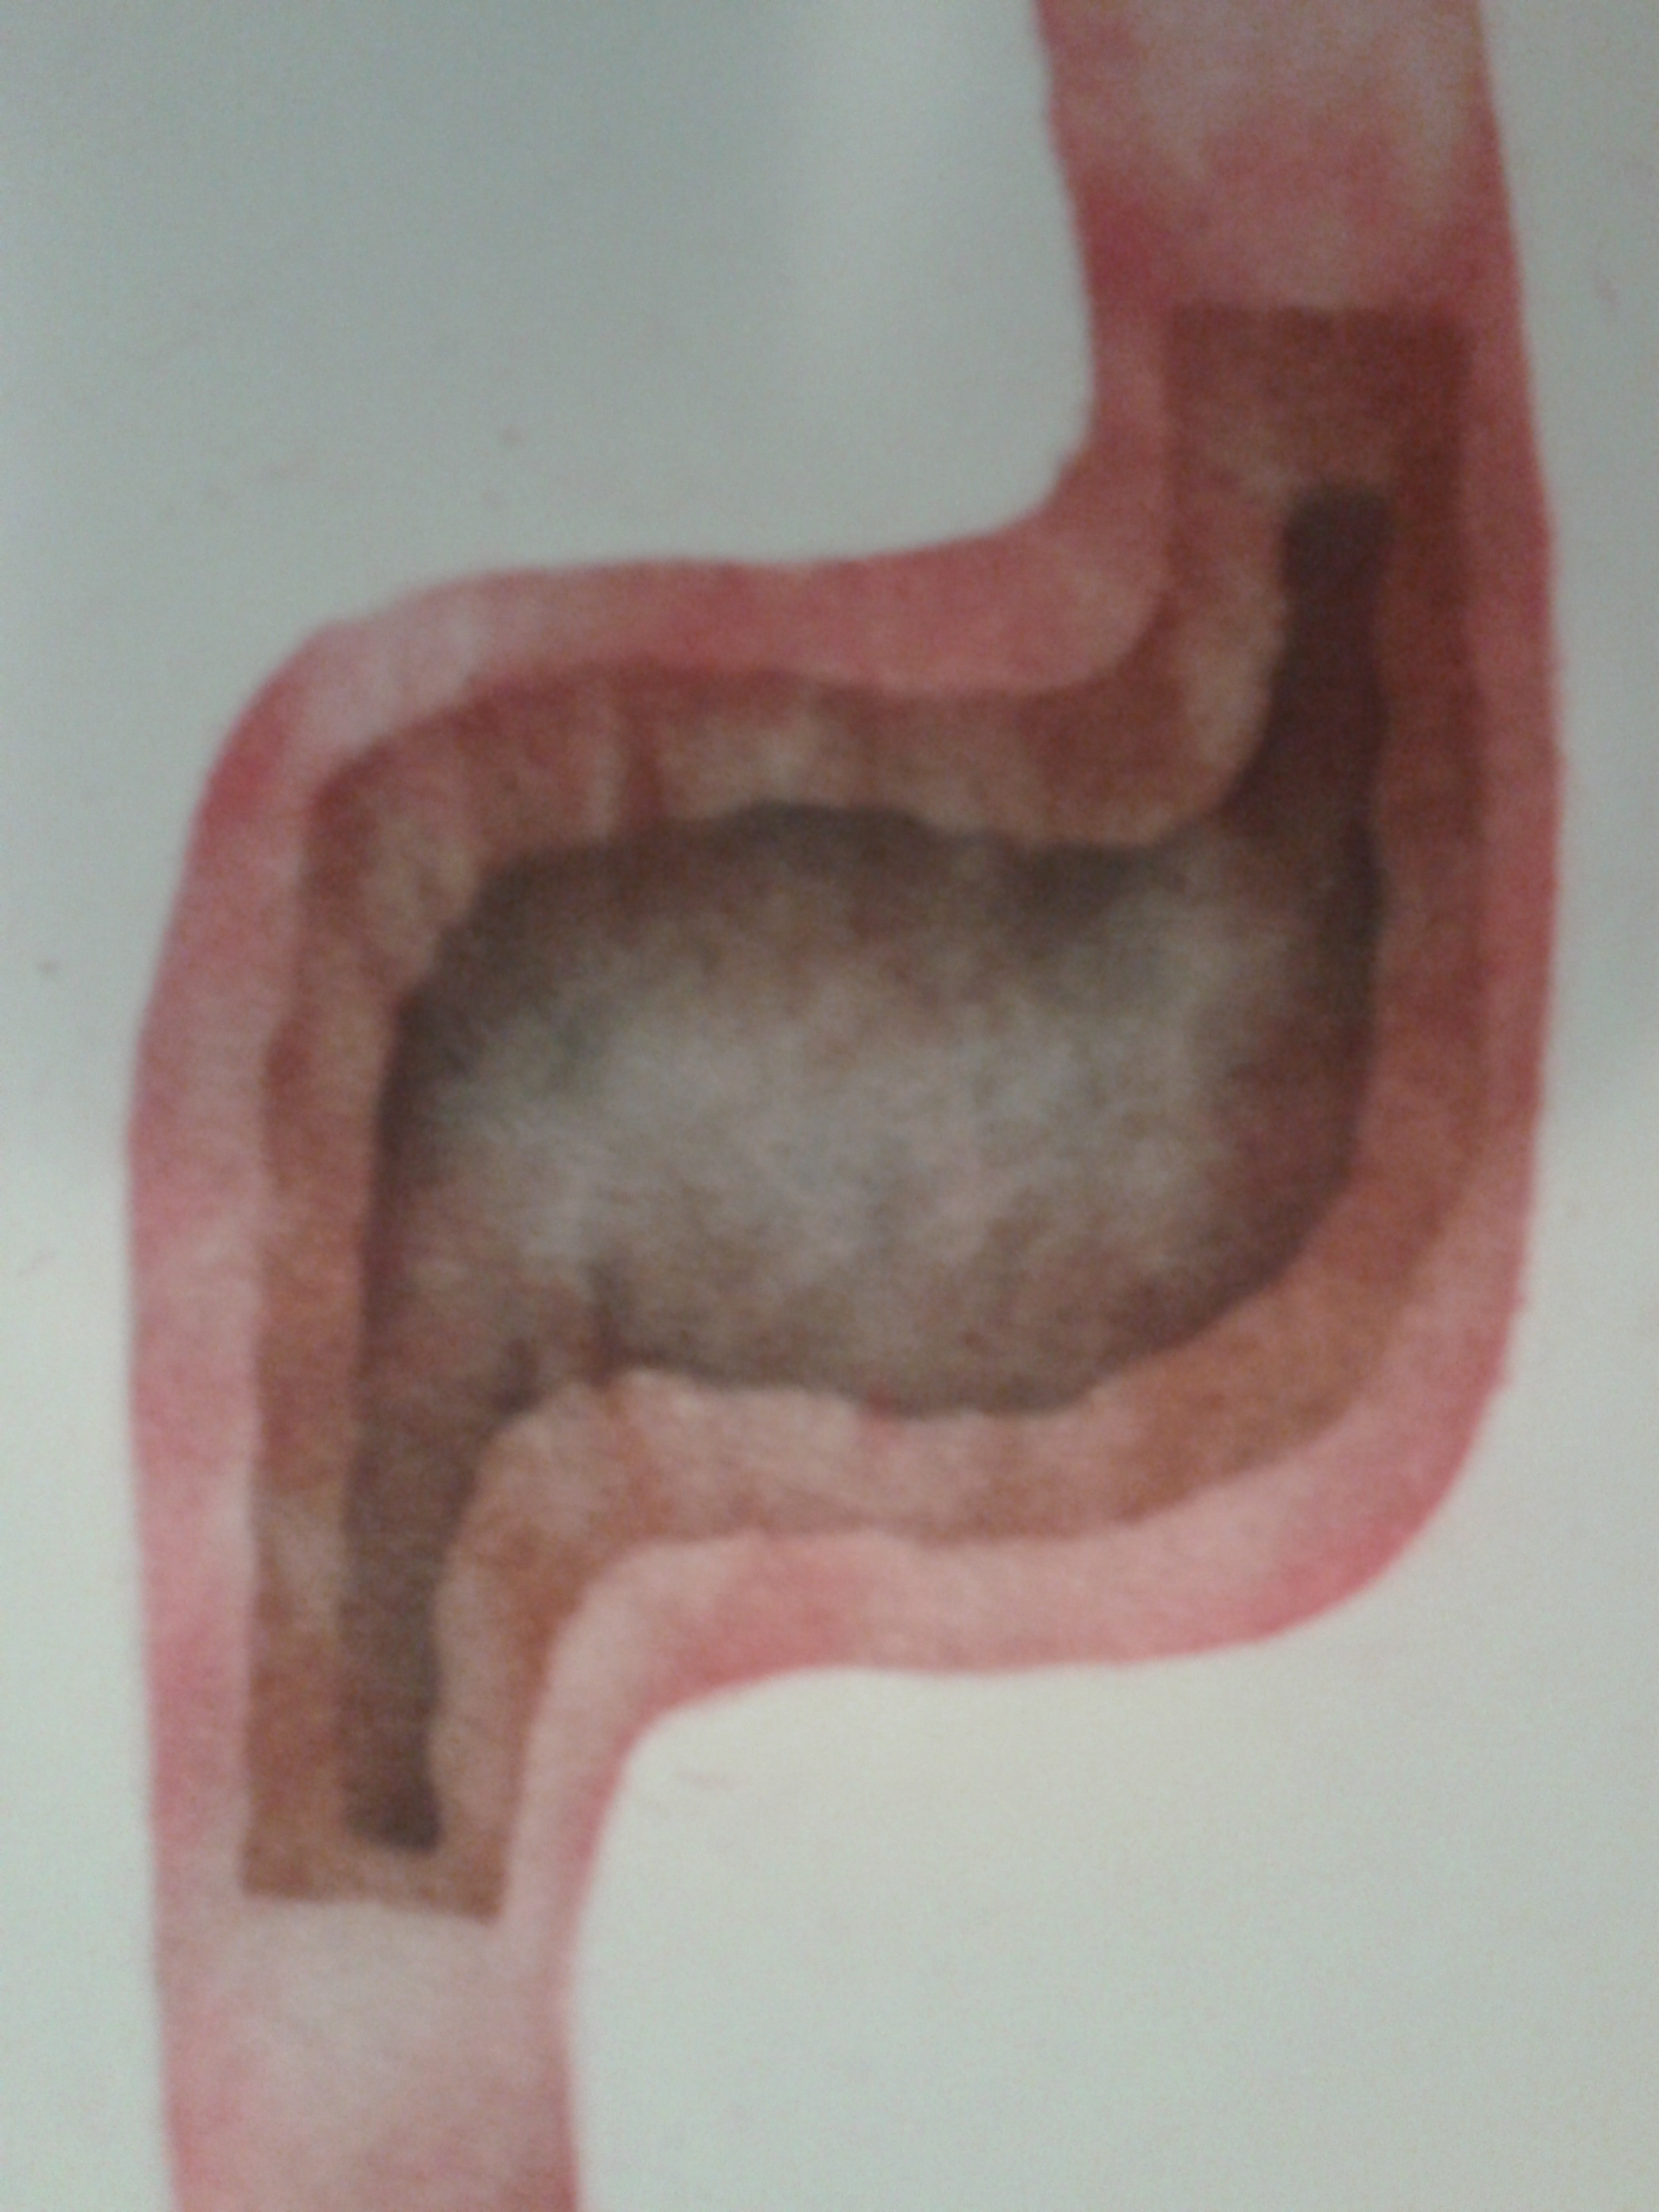
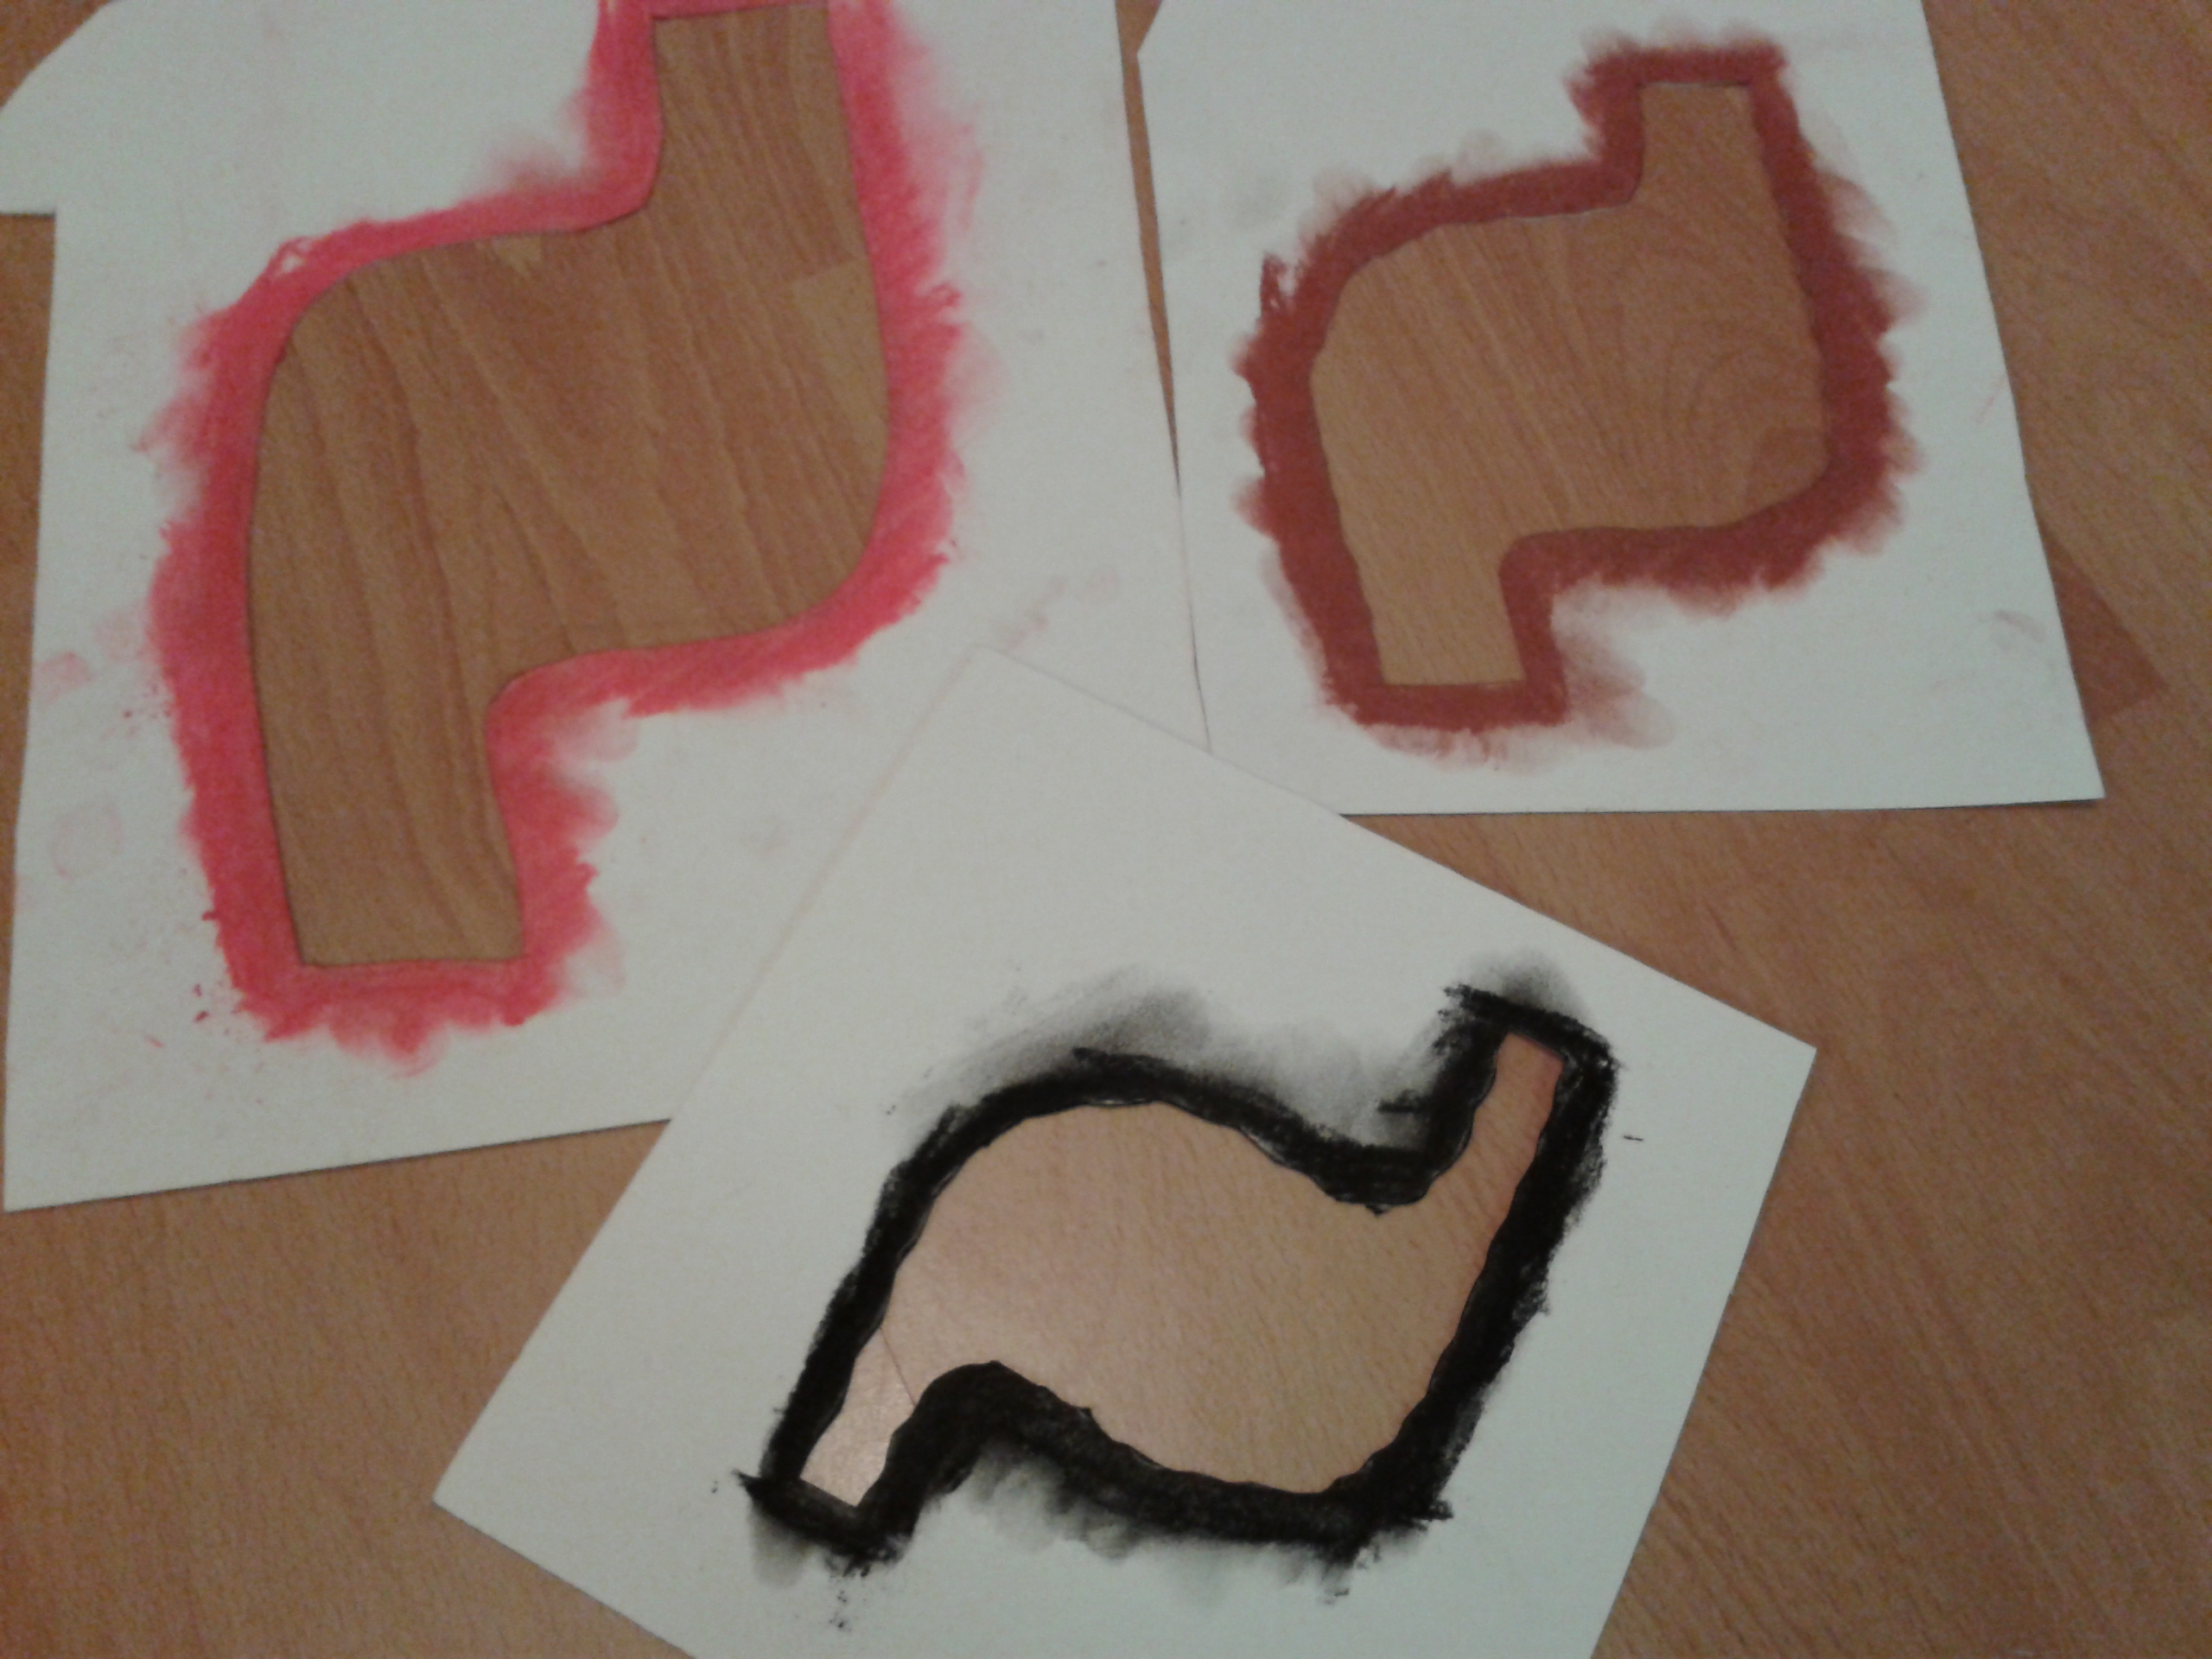
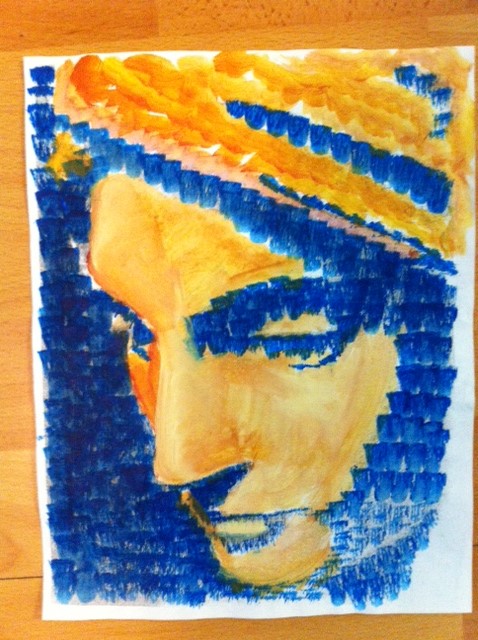
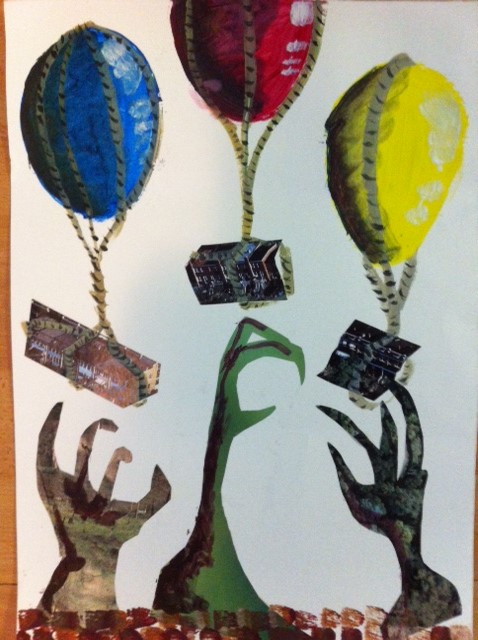
Today in class, we had a step by step tutorial on GIMP (GNU image Manipulation Program) which is the open source version of Adobe Photoshop. As I understand, both are quite similar and everything I have learned on GIMP can be applied to Photoshop. In the tutorial, Bill, or instructor, took us step by step through the tools and showed us how to use and manipulate images. For the sake of this reflection, let’s assume that I am teaching a grade 11 photography class this digital photo process for the first time. To hook the students into the lesson I would show them a multi-coloured relief print but I wouldn’t tell them what it was or how it was made. I would pass out examples so that students could touch the print and have a close look. The students would be asked to talk in pairs or small groups about how they thought the image was made. We would open up the conversation to the whole class. This discussion is important because multi coloured relief prints are based on the idea of layering different sections of an image over top of each other just like GIMP. To slowly ease the students into the program, I would hook my computer to a projector so I could show the students step by step processes that are pivotal to the use for the program. For example, layer hierarchy, layer selection, the alpha function which allows you to make a layer transparent of translucent and some of the selection tools and filters. As I am giving the very teacher centered tutorial, the students would be following along with a hand out that I had created. The handout would be made by taking screenshots of the program and the students would be asked to fill in the blanks with the names of specific functions as I discussed them. This combination of visual, tactile, and auditory learning would hopefully solidify this sometimes difficult information for the students. This whole process would likely take about 30 min so following this we would head to the computer lab so the students can move around, stretch their legs and explore the program themselves.
The objective for this play/exploration time is to a) allow the students to get comfortable with the program and b) analyze the use of image development strategies. This second objective is a direct PLO from the grade 11 studio arts IRP.
The students would be given the rest of the class to explore the program. There would be no stipulations on using certain functions or processes. As the students are working, the teacher is circulating and helping out where needed.
Students would be reminded to save their image as we would return to it in the following class. At the beginning of the next class we would go straight to the computer lab to get started. Students would get 20 minutes to touch up anything on their image. As an extension for those who decided they were happy with their original image, students would be asked to take a self portrait with the computer’s camera and would be given a hand out with specific instructions. For example, change your eye colour to match your shirt or give yourself a pet parrot. This handout would focus on important aspects of the previous class’s tutorial.
As the students are finishing up, I would choose 2 or 3 example images that I had made the day before. As a class we would analyse the sample work for its use of image development strategies. After analyzing the images as a class, students would be put into groups of 3 and asked to visit each of their computers to discuss the processes that they used and explored. Just before the end of the class, students would be asked to complete a formative/summative exit slip which focuses on questions they might have, problems they ran into, possible solutions for those problems they might have discovered through the class and group discussions and specific image development strategies.
Students would be assessed based on their image development strategy answers and the following class would be designed to answer the questions that students wrote on their exit slips.
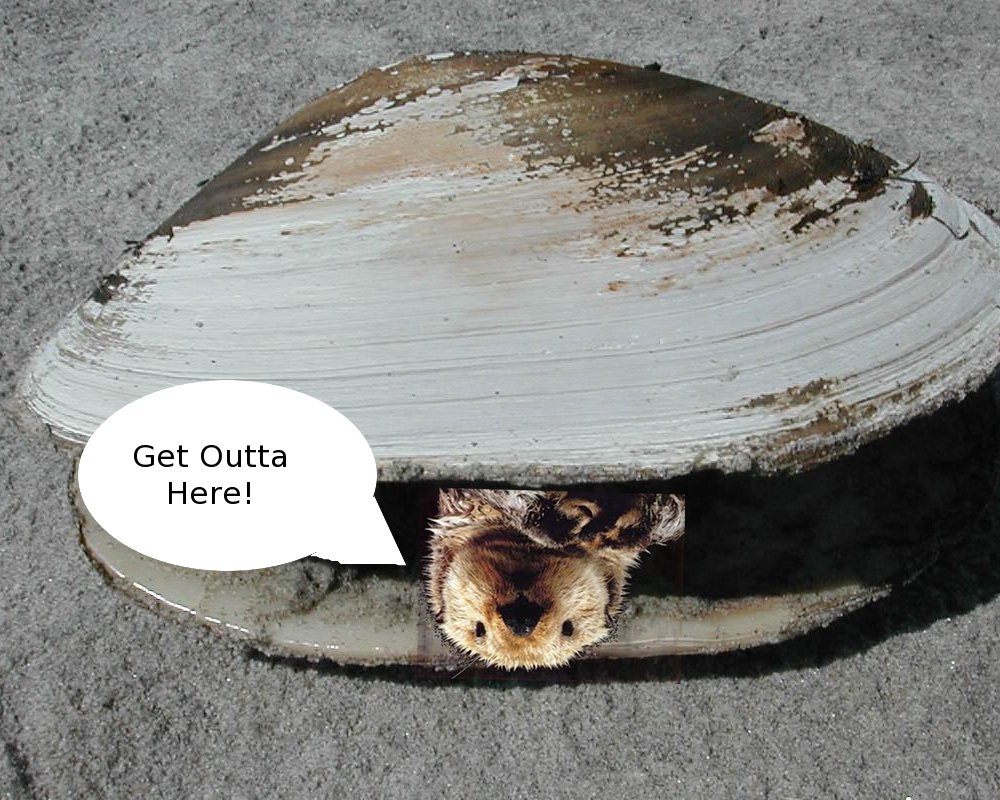
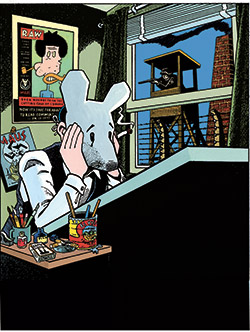
Here is the image I created in the tutorial with Bill. First, I found an image of an otter. I isolated the otter using the cut function and deleted the background section of the image. Next, I found an image of a clam. I went back to the layer with the otter and inverted the image applying the alpha function and placed the inverted otter on top of the clam image so it appeared to be coming out of the mouth of the clam. Next I created a new layer to work on the speech bubble. I drew the bubble using the circle tool, erased the bottom right side and connected it with pencil tool. Following that I inserted text which proved to be way more difficult than I had previously thought.
Having someone help you is very beneficial but the key component I learned from this lesson was exploration. I found I learned better when I was given time to experiment with the tools on my own. This is why in a classroom, I would like to create a safe environment which is forgiving and allows the students opportunities to try without being scrutinized for failure.


Recent Comments